Learn safe bird nail beak trimming at home! Discover the best tools, techniques, and vet-approved tips for stress-free bird grooming.
- 🪶 Introduction: Why Every Bird Parent Must Learn Gentle Grooming
- 🕊️ Why Bird Nail Beak Trimming Matters
- 🧰 Essential Tools for Bird Nail Beak Trimming
- ✂️ Step-by-Step Trimming Routine for Beginners
- ⚠️ Common Mistakes to Avoid During Bird Nail Beak Trimming
- 🌿 Behavioral & Health Benefits of Regular Bird Nail Beak Trimming
- 🩺 Professional Help: When to See an Avian Vet
- 🧰 Must-Have Tools for Safe Bird Nail Beak Trimming
- 🧩 Environmental Support for Natural Trimming
- ❓ FAQ (Schema Enabled)
- 🕊️ Conclusion: Gentle Hands, Happy Wings
- 🩷 Glossary
🪶 Introduction: Why Every Bird Parent Must Learn Gentle Grooming
Have you ever noticed your bird slipping awkwardly from its perch or struggling to grip your finger? Maybe you’ve seen its beak curve downward a little too far, or its nails cling tightly to fabric or skin. These tiny details often go unnoticed—but they can tell a bigger story about your bird’s comfort and health. Overgrown nails or beaks aren’t just cosmetic issues; they directly affect your bird’s balance, feeding, and behavior. That’s where bird nail beak trimming becomes one of the most essential skills every bird parent should master.
In the wild, birds have nature as their grooming assistant. As they climb rugged tree bark, forage for food, and chew on hard seeds, their beaks and claws naturally file down. But pet birds live in a gentler world—soft perches, polished cages, and store-bought food. Without friction or natural wear, their nails grow sharp and long, sometimes curling inward. Their beaks can thicken, chip, or even crack unevenly. That’s why bird nail beak trimming isn’t a luxury—it’s part of responsible pet care.
Untrimmed claws can cause painful scratches or snag on cage wires, leading to injuries. Similarly, an unbalanced beak can interfere with eating and preening, resulting in stress and malnutrition. When birds can’t perform these natural behaviors, they often develop secondary issues like feather plucking, irritability, or social withdrawal. Regular bird nail beak trimming prevents all these problems by keeping your feathered friend agile, pain-free, and cheerful.
But here’s the good news: trimming doesn’t have to be intimidating. With the right tools, a calm approach, and a bit of practice, even beginners can perform it safely. You’ll be surprised at how gentle and bonding the process becomes once your bird learns to trust you. Think of it as a spa day rather than a medical procedure—a soothing routine that strengthens your relationship.
As you move through this guide, you’ll learn how to identify when it’s time for a trim, what equipment to use, and how to manage each session without stress. You’ll also discover how to avoid common mistakes, read your bird’s body language, and make the experience as peaceful as possible.
💡 By the end of this guide, bird nail beak trimming will no longer feel like a chore—it will become a loving ritual that keeps your bird healthy, balanced, and confident for life.
🕊️ Why Bird Nail Beak Trimming Matters
If you own a pet bird, understanding why bird nail beak trimming matters is the first step toward healthy, happy companionship. It’s not just about neat appearance—it’s about comfort, safety, and natural behavior. Overgrown nails and beaks can turn daily life into discomfort for your bird. A slight delay in bird nail beak trimming might mean your parrot struggles to perch or your cockatiel avoids eating due to an uneven beak.
🌿 The Real Problem — When Nature’s Tools Go Unchecked
In the wild, birds regulate nail and beak growth by grinding against bark, seeds, or grit. But pet birds live in soft cages with smooth perches, so that natural filing doesn’t happen. As a result, nails curve inward, and beaks grow sharp or misaligned. Without regular bird nail beak trimming, this overgrowth can cause pain, posture imbalance, or even deformity.
💡 The Solution — Responsible Imitation of Nature
Through careful bird nail beak trimming, you replicate what nature intended—gradual, gentle wear. Trimming ensures a perfect balance: nails that grip without scratching and a beak that functions efficiently. Birds with trimmed claws walk gracefully, perch confidently, and feed without strain.
Pro Tip: Observe your bird’s behavior. If it wobbles while perching or grips too tightly, it’s signaling the need for a grooming session.
🧰 Essential Tools for Bird Nail Beak Trimming
Before you ever attempt bird nail beak trimming, the first step is gathering the right tools. Using proper, bird-safe equipment isn’t just about convenience—it’s about safety, precision, and comfort for your feathered companion. The wrong trimmer or clipper can crack the beak, crush the nail, or cause bleeding. But the right setup makes the process calm, smooth, and even bonding for both of you.
🪶 Why the Right Tools Matter
Birds have incredibly delicate blood vessels in their nails and beaks, commonly known as the quick. A single wrong snip can hurt your bird and make future sessions more stressful. Choosing tools designed specifically for bird nail beak trimming minimizes these risks and ensures that every cut or file is controlled. Investing in the right gear once saves you from accidents and costly vet visits later.
Below are seven tried-and-tested tools every bird owner should keep in their grooming kit.
1️⃣ Bird-Safe Nail Clippers (Small or Curved Tip)
The foundation of every bird nail beak trimming kit. These are lightweight clippers designed for avian claws—smaller and sharper than pet clippers for cats or dogs. The curved tip ensures a clean, precise cut without crushing the nail shaft.
✅ When to Use: For trimming small portions of the nail tip only.
⚠️ Avoid: Using dull blades or human nail clippers, which can split fragile nails.
💡 Pro Tip: Always position the clipper below the pinkish “quick” to prevent bleeding. Trim in short, gentle snips rather than large cuts.
2️⃣ Rotary Grinder or Nail File (Emery Board)
A rotary grinder smooths sharp edges after trimming, while a soft emery board works for tiny touch-ups. These are perfect for birds with dark nails where the quick isn’t visible. Grinding prevents snags on perches or fabrics—common issues after an uneven cut.
✅ When to Use: After clipping, for a smooth finish and comfort.
⚙️ Why It Matters: Reduces scratching accidents and improves grip.
💡 Pro Tip: Introduce the grinder gradually so your bird gets used to the sound before use.
3️⃣ Styptic Powder or Cornstarch
Accidents happen—even seasoned owners sometimes trim too close. Styptic powder instantly stops minor bleeding and soothes the nail bed. Keep it nearby every time you perform bird nail beak trimming.
✅ How to Use: Dip a cotton swab into the powder and gently press it against the bleeding area for a few seconds.
⚠️ Avoid: Using alcohol or human antiseptics; they can sting and cause panic.
💡 Pro Tip: If you don’t have styptic powder, plain cornstarch works in an emergency.
4️⃣ LED Flashlight or Headlamp
A small, bright light helps you see the “quick” inside the nail—especially in darker-colored birds. Clear visibility is crucial during bird nail beak trimming because it lets you trim precisely without injury.
✅ Use: Shine light beneath or behind the claw to reveal bloodline.
💡 Pro Tip: For birds with translucent nails, you’ll notice a faint red hue where the quick ends—cut slightly ahead of that line.
5️⃣ Beak Trimming Tool (Curved File or Dremel Attachment)
When used properly, this is your precision instrument for shaping overgrown or chipped beaks. Unlike nails, beaks require only minimal filing—never deep cutting. Curved files or low-speed rotary attachments smooth rough edges gently.
✅ Use: For minor surface shaping, not full reshaping.
⚠️ Avoid: Cutting too close to the beak’s soft base or using power tools too fast.
💡 Pro Tip: A few soft strokes once every month are enough to maintain balance. If the beak grows unevenly or rapidly, consult an avian vet.
6️⃣ Towel or Soft Cloth Wrap (“Bird Burrito”)
Handling is half the battle during bird nail beak trimming. Wrapping your bird snugly in a towel calms movement, prevents wing flapping, and protects both of you from scratches.
✅ Use: Secure the wings gently, leaving only the head or one foot exposed.
💡 Pro Tip: Use a lightweight cotton towel—thick enough for security but breathable for comfort.
7️⃣ Non-Slip Perch or Grooming Stand
A grooming stand keeps your bird stable and gives you better visibility during the trimming session. It mimics a natural perch but with added grip. Having a dedicated grooming spot trains your bird to associate bird nail beak trimming with calmness rather than fear.
✅ Use: Set up near bright light or natural sunlight.
💡 Pro Tip: Place treats nearby. Positive association builds long-term trust.
🕊️ The Power of Preparation
When you have all these tools ready and organized, your trimming session becomes smoother and safer. Arrange them on a flat, clean surface before bringing your bird out. Birds sense our energy—your calm preparation helps them relax too.
🔑 Quick Checklist for Bird Nail Beak Trimming:
- Clean, sharp clipper or file ✅
- Styptic powder on standby ✅
- Bright lighting or flashlight ✅
- Towel wrap ready ✅
- Patience and soft voice—always ✅
💬 Pro Tip: Before you start trimming, spend a few minutes talking to your bird, letting it perch on your hand, or giving small treats. A relaxed mood ensures a gentle and successful session.
✂️ Step-by-Step Trimming Routine for Beginners
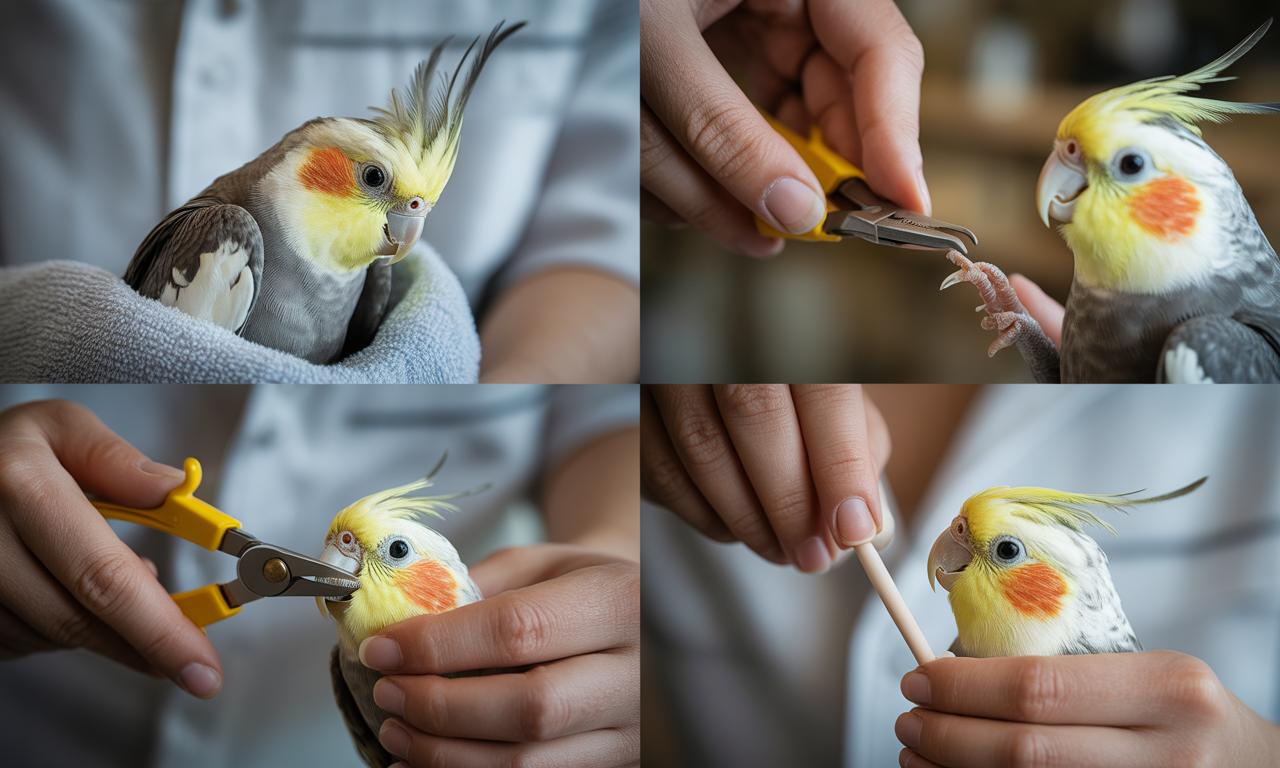
If you’re nervous about bird nail beak trimming, remember—it’s not about speed, it’s about precision and trust. Follow this calm, consistent routine to ensure safety and comfort every time.
🪶 Step 1: Prepare the Environment
A peaceful setting is crucial. Turn off fans and loud devices, and dim bright lights. Birds feel your mood; stay relaxed so they do too. Keep your bird nail beak trimming tools nearby—clippers, styptic powder, a small towel, and a gentle beak file.
🕯️ Step 2: Secure Your Bird Gently
Wrap your bird in a soft towel, leaving the head exposed. Hold firmly yet kindly—pressure can frighten them. This method keeps wings steady during bird nail beak trimming, allowing you to focus on precision.
💡 Step 3: Identify the Quick
Shine an LED flashlight under the nail. The pink core you see is the quick—avoid cutting too close. Trim tiny bits at a time. Proper bird nail beak trimming means smooth, gradual clipping, not fast snips.
🪵 Step 4: File and Shape the Beak
Use a fine emery board or bird-safe Dremel on low speed. Work from the base outward with soft strokes. The goal isn’t to shorten but to reshape. Consistent bird nail beak trimming keeps edges even, preventing chipping or splitting.
🎁 Step 5: Reward and Relax
After every session, offer a small treat or favorite toy. Associating bird nail beak trimming with positive moments builds trust and makes future grooming easier.
Pro Tip: Trim one claw at a time, especially for small species. Rushing causes anxiety; patience builds cooperation.
⚠️ Common Mistakes to Avoid During Bird Nail Beak Trimming
Even with the best intentions, many new bird owners unknowingly make small errors that can cause big problems during bird nail beak trimming. The process requires patience, precision, and awareness of your bird’s comfort level. A single wrong move can turn what should be a calm grooming session into a stressful experience—for both of you. By learning from the most common mistakes, you can keep every trimming session safe, efficient, and positive.
❌ 1. Trimming Too Much at Once
This is the most frequent mistake beginners make. Many people assume that trimming a lot in one go means they won’t have to do it again soon—but that’s not how it works. Bird nails and beaks are living tissues that contain nerves and blood vessels. Cutting too much too quickly can cause bleeding, pain, and panic.
✅ Better Approach: Trim little by little. Even if it means doing multiple micro-sessions, that’s perfectly fine. Gradual trimming prevents damage and builds trust.
💡 Pro Tip: Think of it like sculpting—not chopping. Every small clip brings you closer to the perfect shape without risk.
❌ 2. Ignoring the Quick
The quick is the most vital part of the nail—the blood-filled core that nourishes growth. During bird nail beak trimming, cutting into the quick causes instant bleeding and pain. It can also make your bird fearful of future grooming sessions.
✅ Better Approach: Always locate the quick before trimming. In light-colored nails, it’s the pinkish area. In dark nails, use an LED flashlight to view it from below.
💬 If you accidentally nick it, apply styptic powder immediately and stay calm. Birds mirror your energy.
💡 Pro Tip: Never trim in dim light or rush the process. Patience is your best safety tool.
❌ 3. Using the Wrong Tools
Household scissors, human clippers, or kitchen knives are not designed for birds. They can crush the nail or crack the beak rather than cutting cleanly. This mistake often results in uneven shapes and long-term discomfort.
✅ Better Approach: Always use bird-specific clippers, grinders, and files. Properly sharpened and sterilized tools make trimming painless and precise.
💡 Pro Tip: Keep a backup set of tools, especially if you own multiple birds. Dull blades are one of the leading causes of nail splitting.
❌ 4. Skipping the After-Care Routine
Once trimming is done, many owners stop there—but the session isn’t over yet. Without after-care, micro-fractures in nails or minor scratches on the beak can lead to irritation or infection.
✅ Better Approach: Wipe the nails and beak gently with a damp, clean cloth after trimming. Apply a small dab of coconut oil (if recommended by a vet) to restore shine and hydration.
💬 Bonus: Reward your bird immediately after grooming with treats or affection to create positive reinforcement.
💡 Pro Tip: Use this time to check the bird’s wings, feathers, and feet for any abnormalities. A mini health check during grooming is an excellent habit.
❌ 5. Holding the Bird Too Tightly
It’s easy to panic and grip the bird firmly to prevent movement, but this can do more harm than good. Birds have fragile bones and sensitive chests that expand during breathing. Squeezing even slightly too hard can restrict airflow and cause distress.
✅ Better Approach: Hold gently but securely using the towel method. Wrap the wings snugly and keep one hand under the body for support. Keep your movements slow and deliberate.
💡 Pro Tip: Practice handling sessions without trimming first. Let your bird get used to being wrapped before introducing clippers.
❌ 6. Forgetting to File After Clipping
Sharp, unfiled edges can snag on fabrics, cage bars, or toys, leading to painful cracks or injuries. Many people finish clipping and skip this crucial smoothing step.
✅ Better Approach: Always follow clipping with a quick round of filing or grinding. This keeps your bird’s grip natural and prevents accidental scratches.
💡 Pro Tip: For small birds, a fine-grit emery board works perfectly; for larger parrots, use a rotary grinder on a low-speed setting.
❌ 7. Trimming a Stressed or Scared Bird
If your bird is agitated, panting, or biting, that’s a sign to stop. Trimming in that emotional state reinforces fear. Birds remember stressful experiences, and forcing bird nail beak trimming under pressure can lead to long-term grooming anxiety.
✅ Better Approach: Wait for a calmer moment or reschedule the session. Try again after playtime or when your bird is relaxed after eating.
💡 Pro Tip: Establish grooming as a familiar routine—same location, same tone of voice, same time of day. Familiarity breeds comfort.
❌ 8. Neglecting Regular Trimming
One of the biggest mistakes is inconsistency. Waiting too long between sessions causes the quick to grow longer inside the nail, making future trims more difficult and risky. Regular maintenance prevents this and keeps your bird’s nails at a safe length.
✅ Better Approach: Schedule bird nail beak trimming every 4–6 weeks for most small and medium birds. Larger parrots may need less frequent sessions, but still require regular checks.
💡 Pro Tip: Mark grooming dates on your phone calendar with reminders. Consistency keeps both you and your bird in rhythm.
🌿 Final Thought on Avoiding Mistakes
Every bird is unique, and what works for one may not work for another. The secret to perfect bird nail beak trimming lies in observation, gentleness, and routine. Learn to read your bird’s signals—if it pulls away, chirps loudly, or stiffens up, pause and comfort it. Remember: this isn’t just grooming; it’s an act of love.
💬 When you trim with care and respect, your bird feels it—and trusts you more with every session.
🌿 Behavioral & Health Benefits of Regular Bird Nail Beak Trimming
Routine bird nail beak trimming goes beyond hygiene—it’s part of emotional and physical wellness. Here’s how this simple habit benefits your feathered friend:
- Comfortable Perching: Balanced claws allow natural grip and relieve joint stress. Birds with trimmed nails stand taller and move freely.
- Improved Feeding: A smooth, well-shaped beak ensures efficient food cracking and preening.
- Reduced Aggression: Many biting behaviors stem from discomfort; regular bird nail beak trimming restores calmness.
- Prevention of Injuries: Short, smooth nails reduce accidental scratches to both bird and owner.
- Stress Relief: Grooming mimics rain or preening—acts that naturally soothe birds.
- Enhanced Bonding: Gentle bird nail beak trimming deepens trust, making handling easier over time.
Pro Tip: Keep a simple calendar reminder. Consistency is the secret—most birds need trimming every 4–6 weeks depending on growth rate.
🌈 Final Thought: Health and Happiness Go Wing in Wing
Bird nail beak trimming is much more than a beauty routine—it’s a foundational part of your bird’s overall wellness. Healthy grooming habits foster a happier, more confident bird that feels comfortable in its environment.
By making trimming a gentle, consistent ritual, you’re not only protecting your bird’s health but also nurturing a bond that lasts a lifetime.
💬 A well-groomed bird isn’t just physically balanced—it’s emotionally free to spread its wings and trust you completely.
🩺 Professional Help: When to See an Avian Vet
While at-home bird nail beak trimming is perfectly safe with the right tools and patience, there are times when professional assistance is the best choice. Recognizing those situations ensures your bird stays healthy and stress-free.
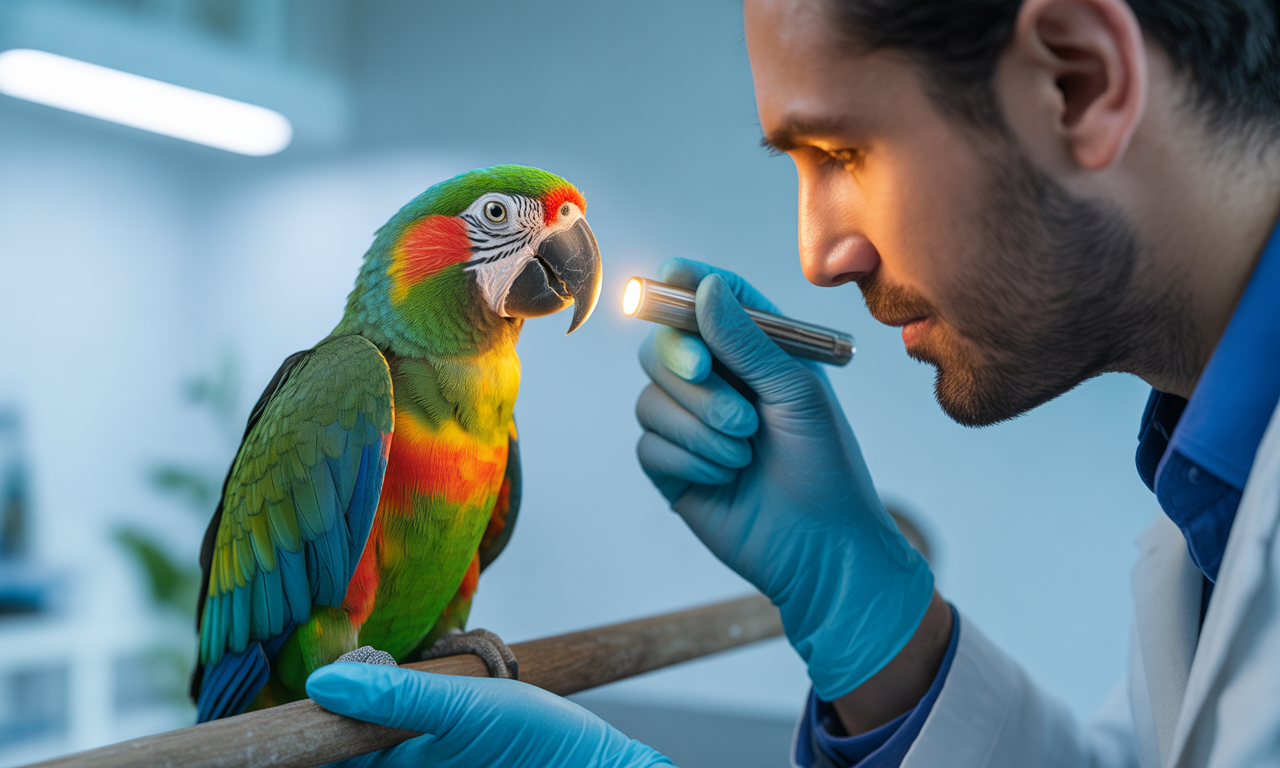
⚕️ 1. When the Beak Is Overgrown or Misshapen
If you notice your bird’s beak growing unevenly, curving excessively, or developing rough spots, it may be a sign of nutritional imbalance or liver issues. These conditions can’t be fixed by simple filing at home. In such cases, an avian vet can safely shape and diagnose the root cause.
💡 Pro Tip: Never attempt deep reshaping at home. Over-filing can expose sensitive layers and cause bleeding or fractures.
⚕️ 2. When There’s Persistent Bleeding or Cracking
Even minor cuts during bird nail beak trimming can heal quickly. However, if you notice continuous bleeding, swelling, or flaking, it’s time for a checkup. These may indicate infections or vitamin deficiencies.
✅ What to Do: Use styptic powder temporarily and call your vet immediately. Avoid trimming again until the area fully heals.
⚕️ 3. For First-Time Grooming or Nervous Owners
If you’re unsure about your technique or feel anxious about hurting your bird, visit a vet or a certified bird groomer first. Watching a professional perform bird nail beak trimming in person helps you understand proper handling, pressure, and angles.
💬 Confidence is key. Once you learn under expert supervision, at-home trimming becomes effortless and safe.
⚕️ 4. Birds with Health Conditions or Behavioral Issues
Some birds—especially older parrots, cockatoos, or rescues—may have brittle nails, beak deformities, or deep-rooted trauma. These birds require specialized care. A vet can use precision tools and mild sedation if needed, ensuring comfort without risk.
🕊️ Bottom Line
Knowing when to step back and let a professional handle bird nail beak trimming shows wisdom, not weakness. It means you value your bird’s safety above all. Regular checkups every few months will help your bird live a balanced, pain-free life.
🧰 Must-Have Tools for Safe Bird Nail Beak Trimming
A successful grooming session depends heavily on having the right tools. The following essentials ensure that your bird nail beak trimming routine is safe, precise, and stress-free.
| Tool | Purpose | Recommended Use |
| Bird Nail Clippers | Designed for clean, controlled cuts. | Use small, sharp ones suited for your bird’s size. |
| Rotary Grinder or Nail Dremel | Smooths rough edges after trimming. | Use at low speed to prevent heat build-up. |
| Beak File | Shapes and evens out minor beak irregularities. | Only for surface filing—never deep cuts. |
| Styptic Powder / Cornstarch | Stops minor bleeding instantly. | Apply gently if quick is accidentally nicked. |
| Soft Towel or Bird Burrito Wrap | Keeps your bird secure and calm. | Wrap snugly but never too tight. |
| LED Flashlight | Illuminates dark nails to locate the quick. | Essential for birds with black or brown claws. |
💡 Pro Tip: Always disinfect your tools before and after use using a pet-safe cleaner. Clean tools mean zero infections and smoother trims every time.
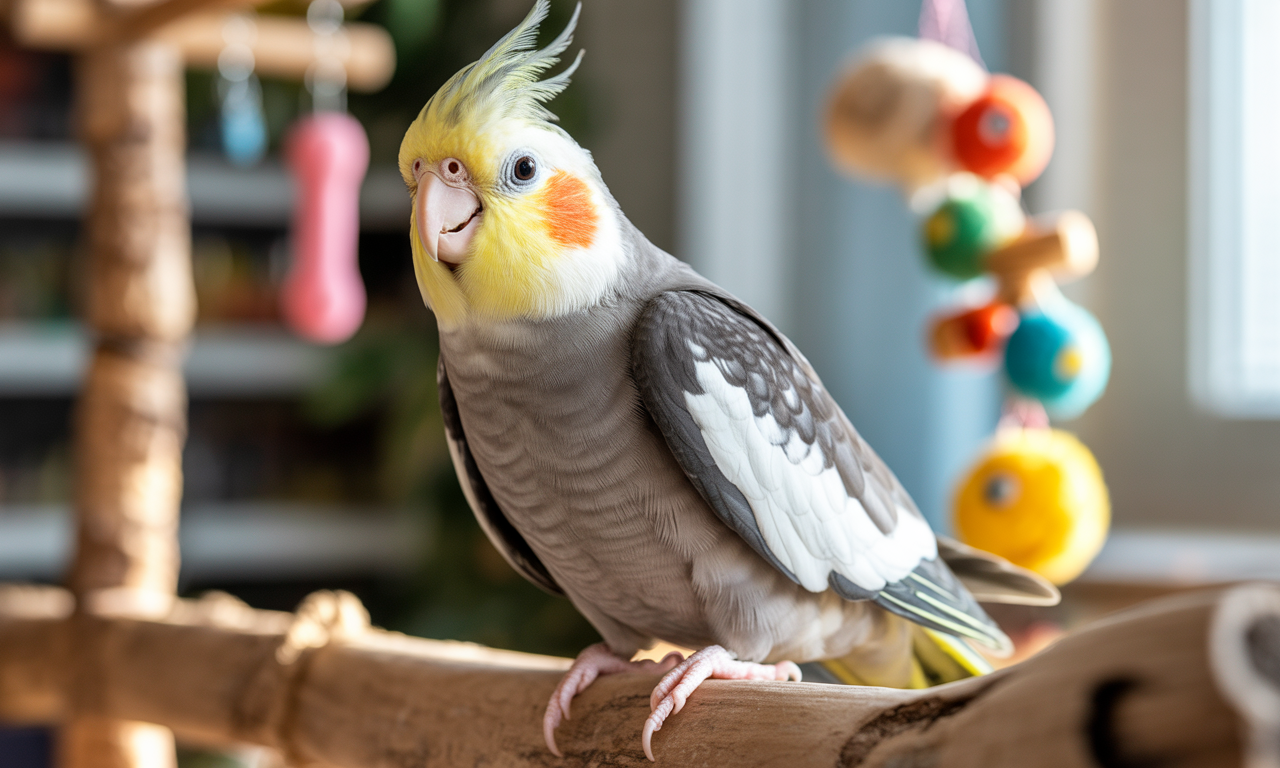
🧩 Environmental Support for Natural Trimming
You can actually reduce how often bird nail beak trimming is needed by setting up a stimulating cage environment that encourages natural wear and tear.
🌳 1. Textured Perches
Provide natural wooden perches with varying diameters. This keeps your bird’s nails and feet exercised while filing tips naturally.
🧱 2. Chew Toys & Cuttlebones
These are nature’s toothbrushes and nail files. Chewable materials strengthen the beak and prevent overgrowth.
🪶 3. Foraging Toys
Hiding treats inside wooden or rope-based foraging toys encourages birds to use their beaks actively—keeping them trim and healthy.
💬 Pro Tip: Rotate perch materials weekly—try sand-covered, rope, and natural bark to balance comfort and conditioning.
❓ FAQ (Schema Enabled)
Q1. How often should I perform bird nail beak trimming?
Most small birds need bird nail beak trimming every 4–6 weeks, while larger parrots can go 6–8 weeks. Always adjust frequency based on growth rate and perch activity.
Q2. Can I use human nail clippers for my bird?
No. Human clippers crush instead of slicing cleanly. Always use specialized bird nail trimmers to avoid splintering or pain.
Q3. What if I cut the quick during trimming?
Stay calm. Apply styptic powder immediately and keep your bird still for a few minutes. Avoid trimming again for several days.
Q4. How can I tell if my bird’s beak needs trimming?
Watch for signs like uneven texture, over-curved tips, or difficulty eating. Regular inspection helps prevent problems early.
Q5. Can I perform trimming at night?
It’s best done during the day when your bird is alert and lighting is optimal. Poor lighting increases the risk of injury.
Q6. Should I trim both nails and beak at the same time?
Yes—but only if your bird remains calm throughout. If it’s stressed, split the routine over two short sessions.
Q7. What are natural ways to reduce trimming needs?
Provide rough perches, cuttlebones, and wood-based toys. They naturally help maintain nail and beak length between sessions.
🕊️ Conclusion: Gentle Hands, Happy Wings
Caring for your feathered companion is an art rooted in trust and patience. Regular bird nail beak trimming keeps your pet not only physically balanced but emotionally secure. Every gentle clip, every calm word, and every soothing touch builds confidence between you and your bird.
When grooming becomes a loving ritual instead of a fearful chore, your bird thrives—singing louder, climbing freely, and bonding deeper.
💬 Remember, your goal isn’t perfection; it’s connection.
With steady hands, the right tools, and a caring heart, you’ll transform trimming time into a moment of peace and partnership.
🩷 Glossary
Quick: The sensitive inner core of a bird’s nail that contains blood vessels.
Cuttlebone: A calcium-rich internal shell that birds chew on to maintain beak health.
Styptic Powder: A clotting agent used to stop minor bleeding during trimming.
Beak File: A handheld tool used to smooth or shape the beak.
Perch: A rod or branch inside a bird’s cage where it rests and exercises its feet.
Grooming Perch: A textured perch designed to wear down nails naturally.
💡Looking for something different? Check out our latest post here: https://birdsheavencare.com/my-first-year-bird-parent-journey